Why Use a Custom Domain
By default, a Lovable project lives on a .lovable.app subdomain. That's fine for testing, but a custom domain — your own yourbrand.com — is what makes the project look professional, builds trust, and helps with SEO and brand recall.
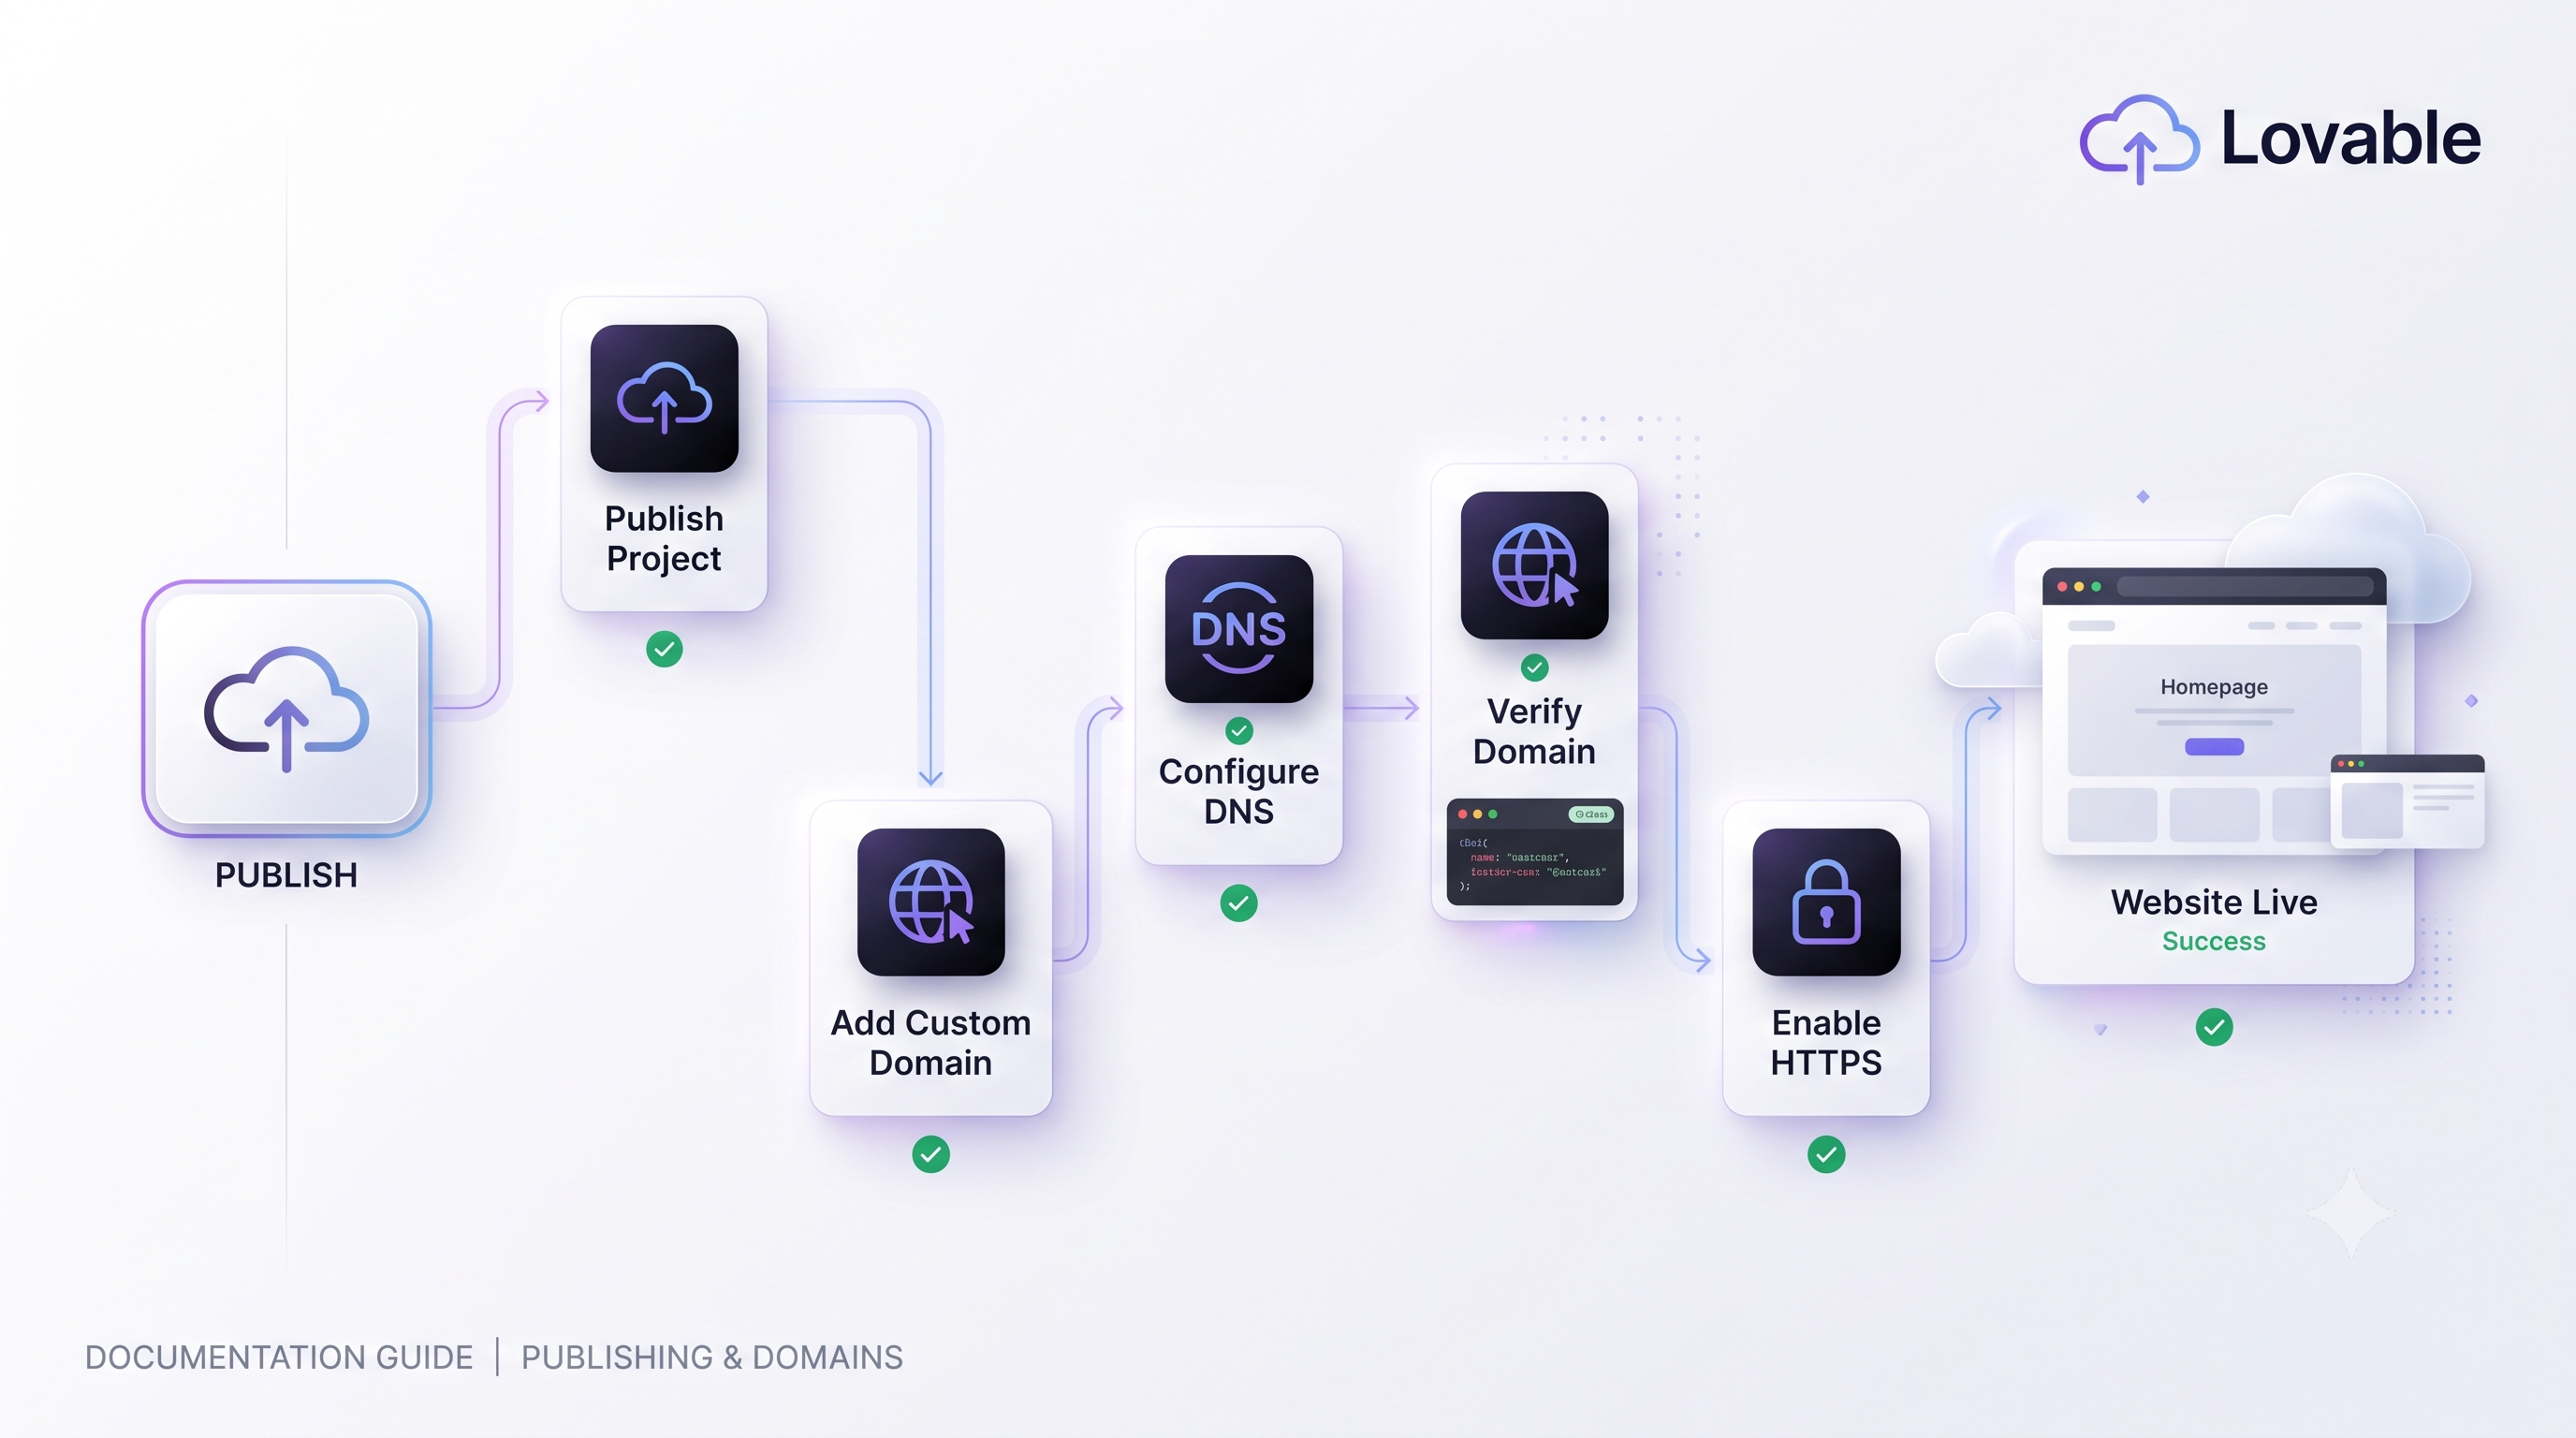
The good news: connecting a domain to Lovable takes just a few steps. You publish the project, tell Lovable which domain to use, add a couple of DNS records at your registrar, and wait for HTTPS to switch on. This guide covers the whole process and the issues people hit most.
Before You Start
You'll need:
- A published Lovable project (custom domains only work after publishing)
- A domain you own, registered at any registrar (GoDaddy, Namecheap, Cloudflare, and so on)
- Access to that registrar's DNS settings — this is where you'll add records
You don't need to transfer your domain to Lovable. You keep it where it is and simply point the DNS at Lovable.
Step 1: Publish Your Lovable Project
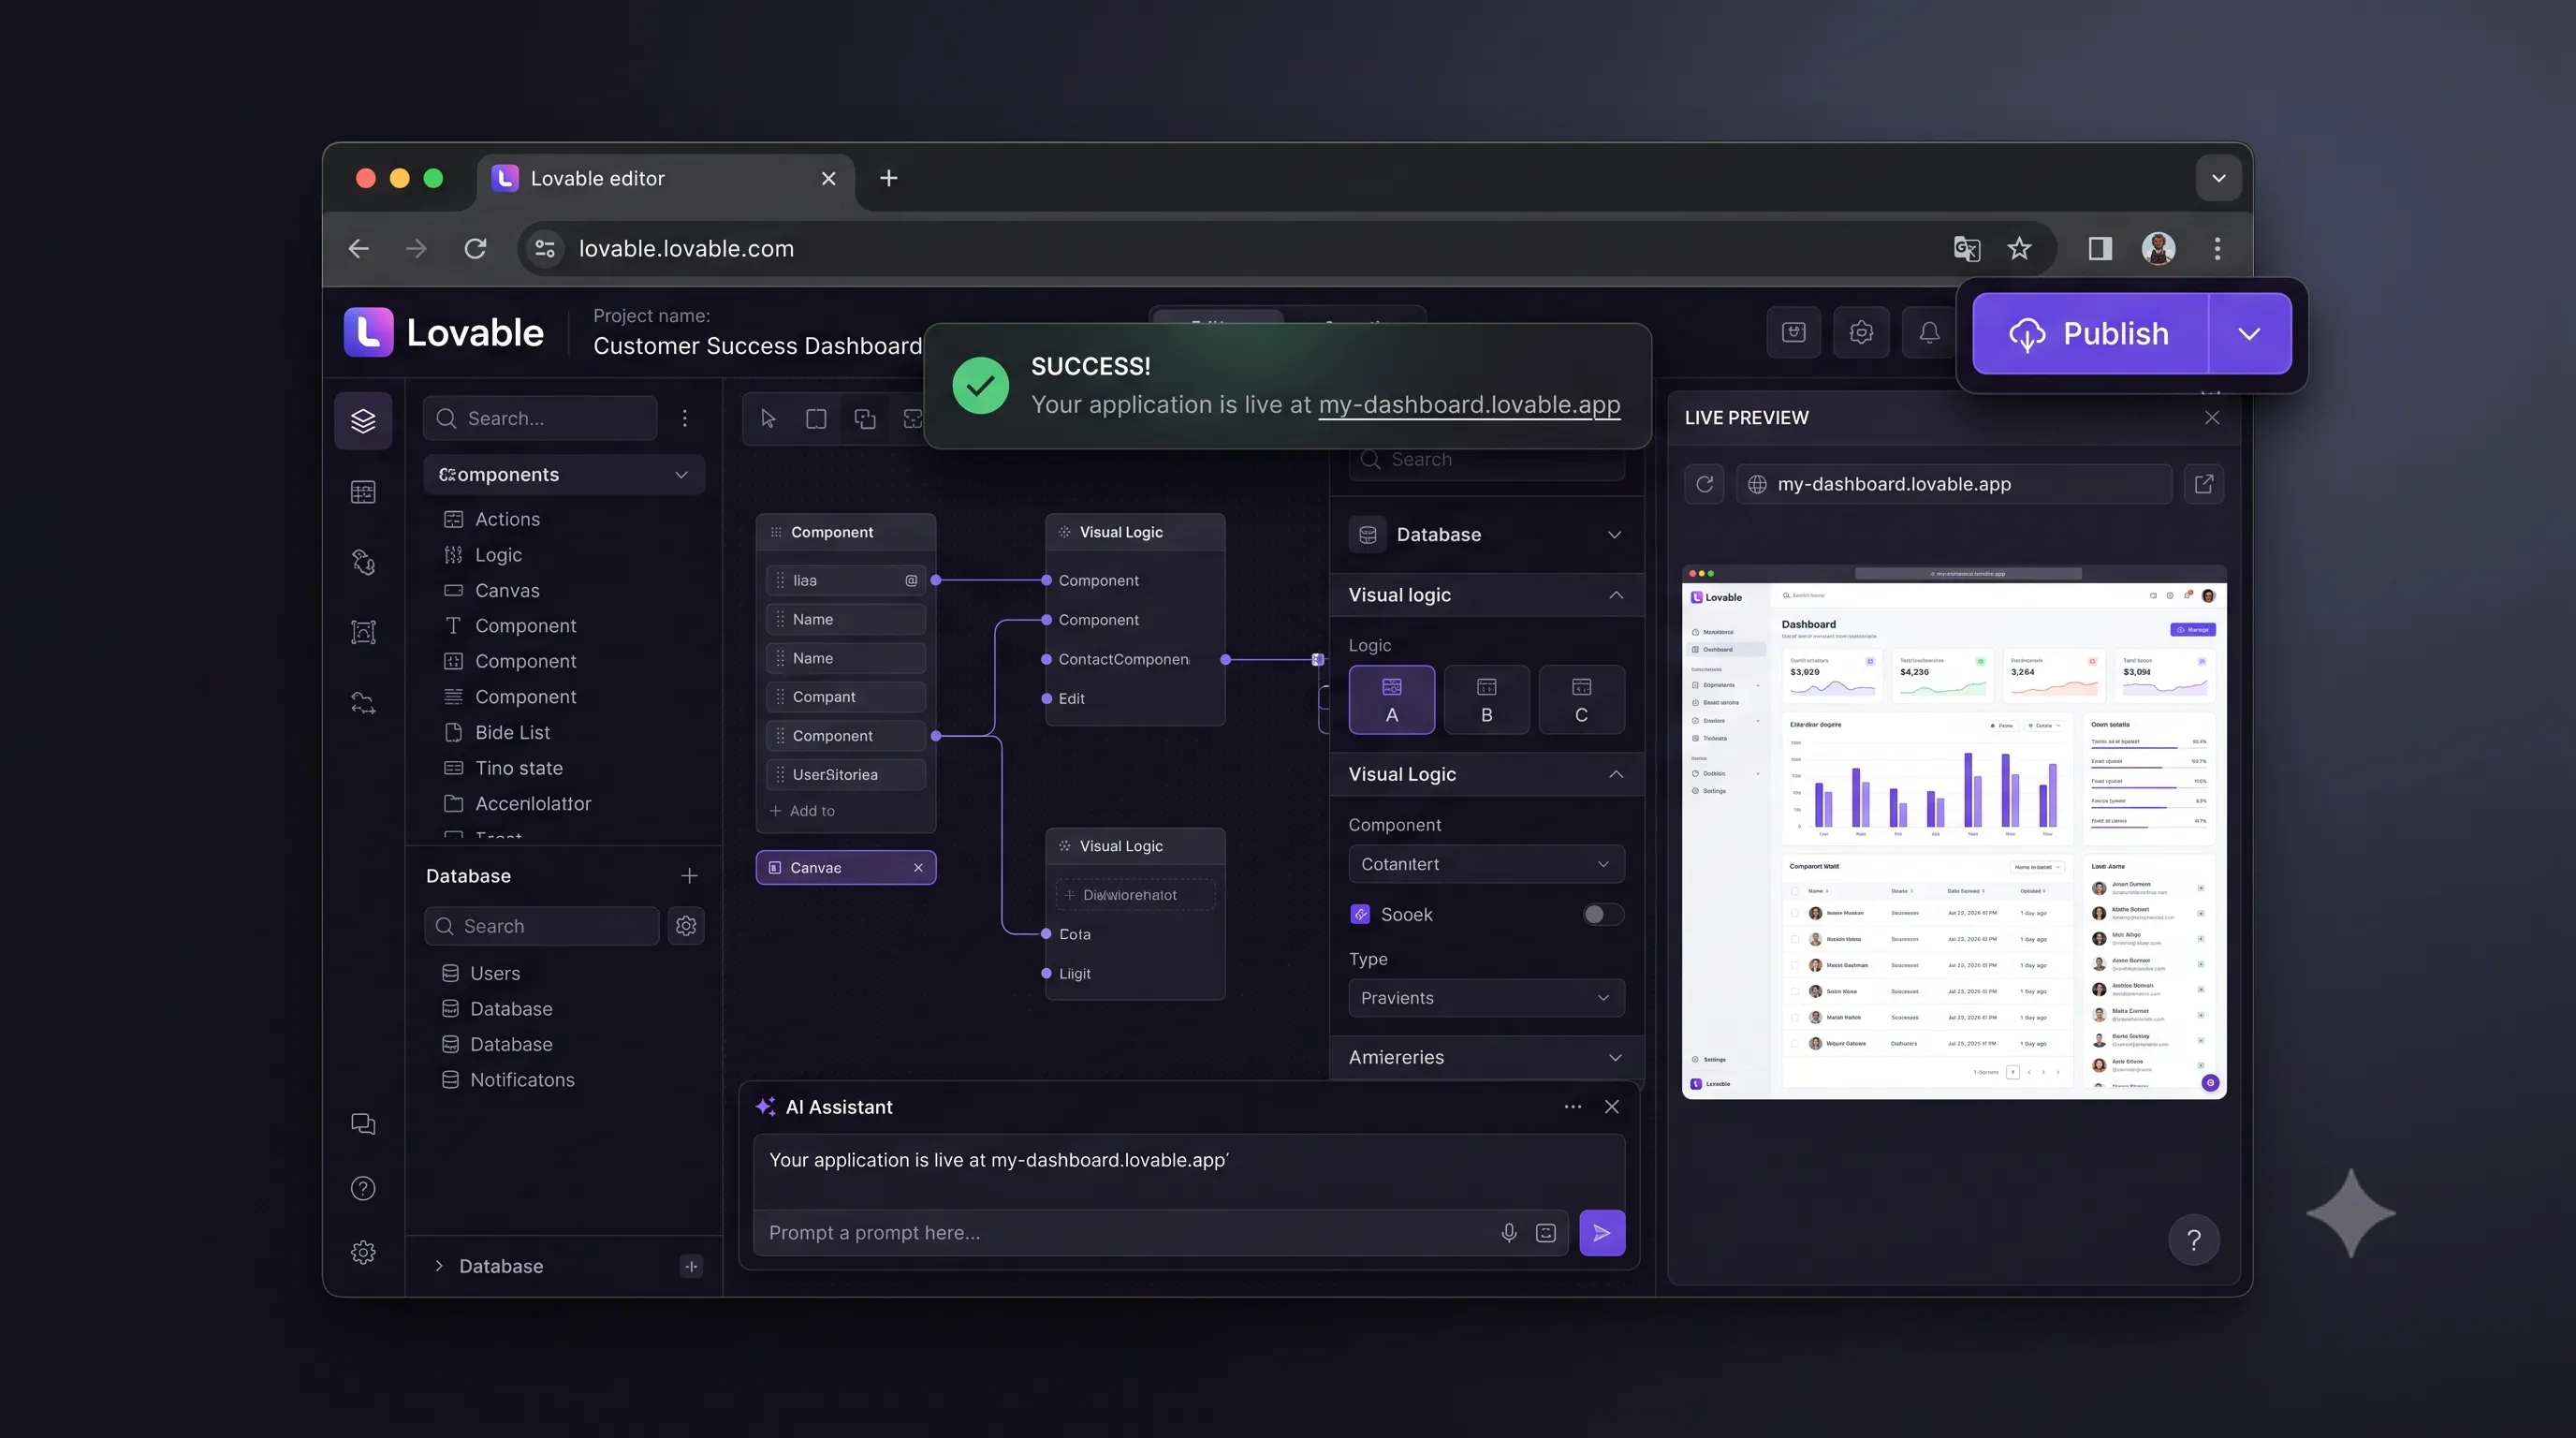
In the Lovable editor, click Publish (top-right). This pushes your project live on its default .lovable.app URL. Confirm the site loads there before moving on — the custom domain simply points at this published version.
Step 2: Add Your Domain in Lovable
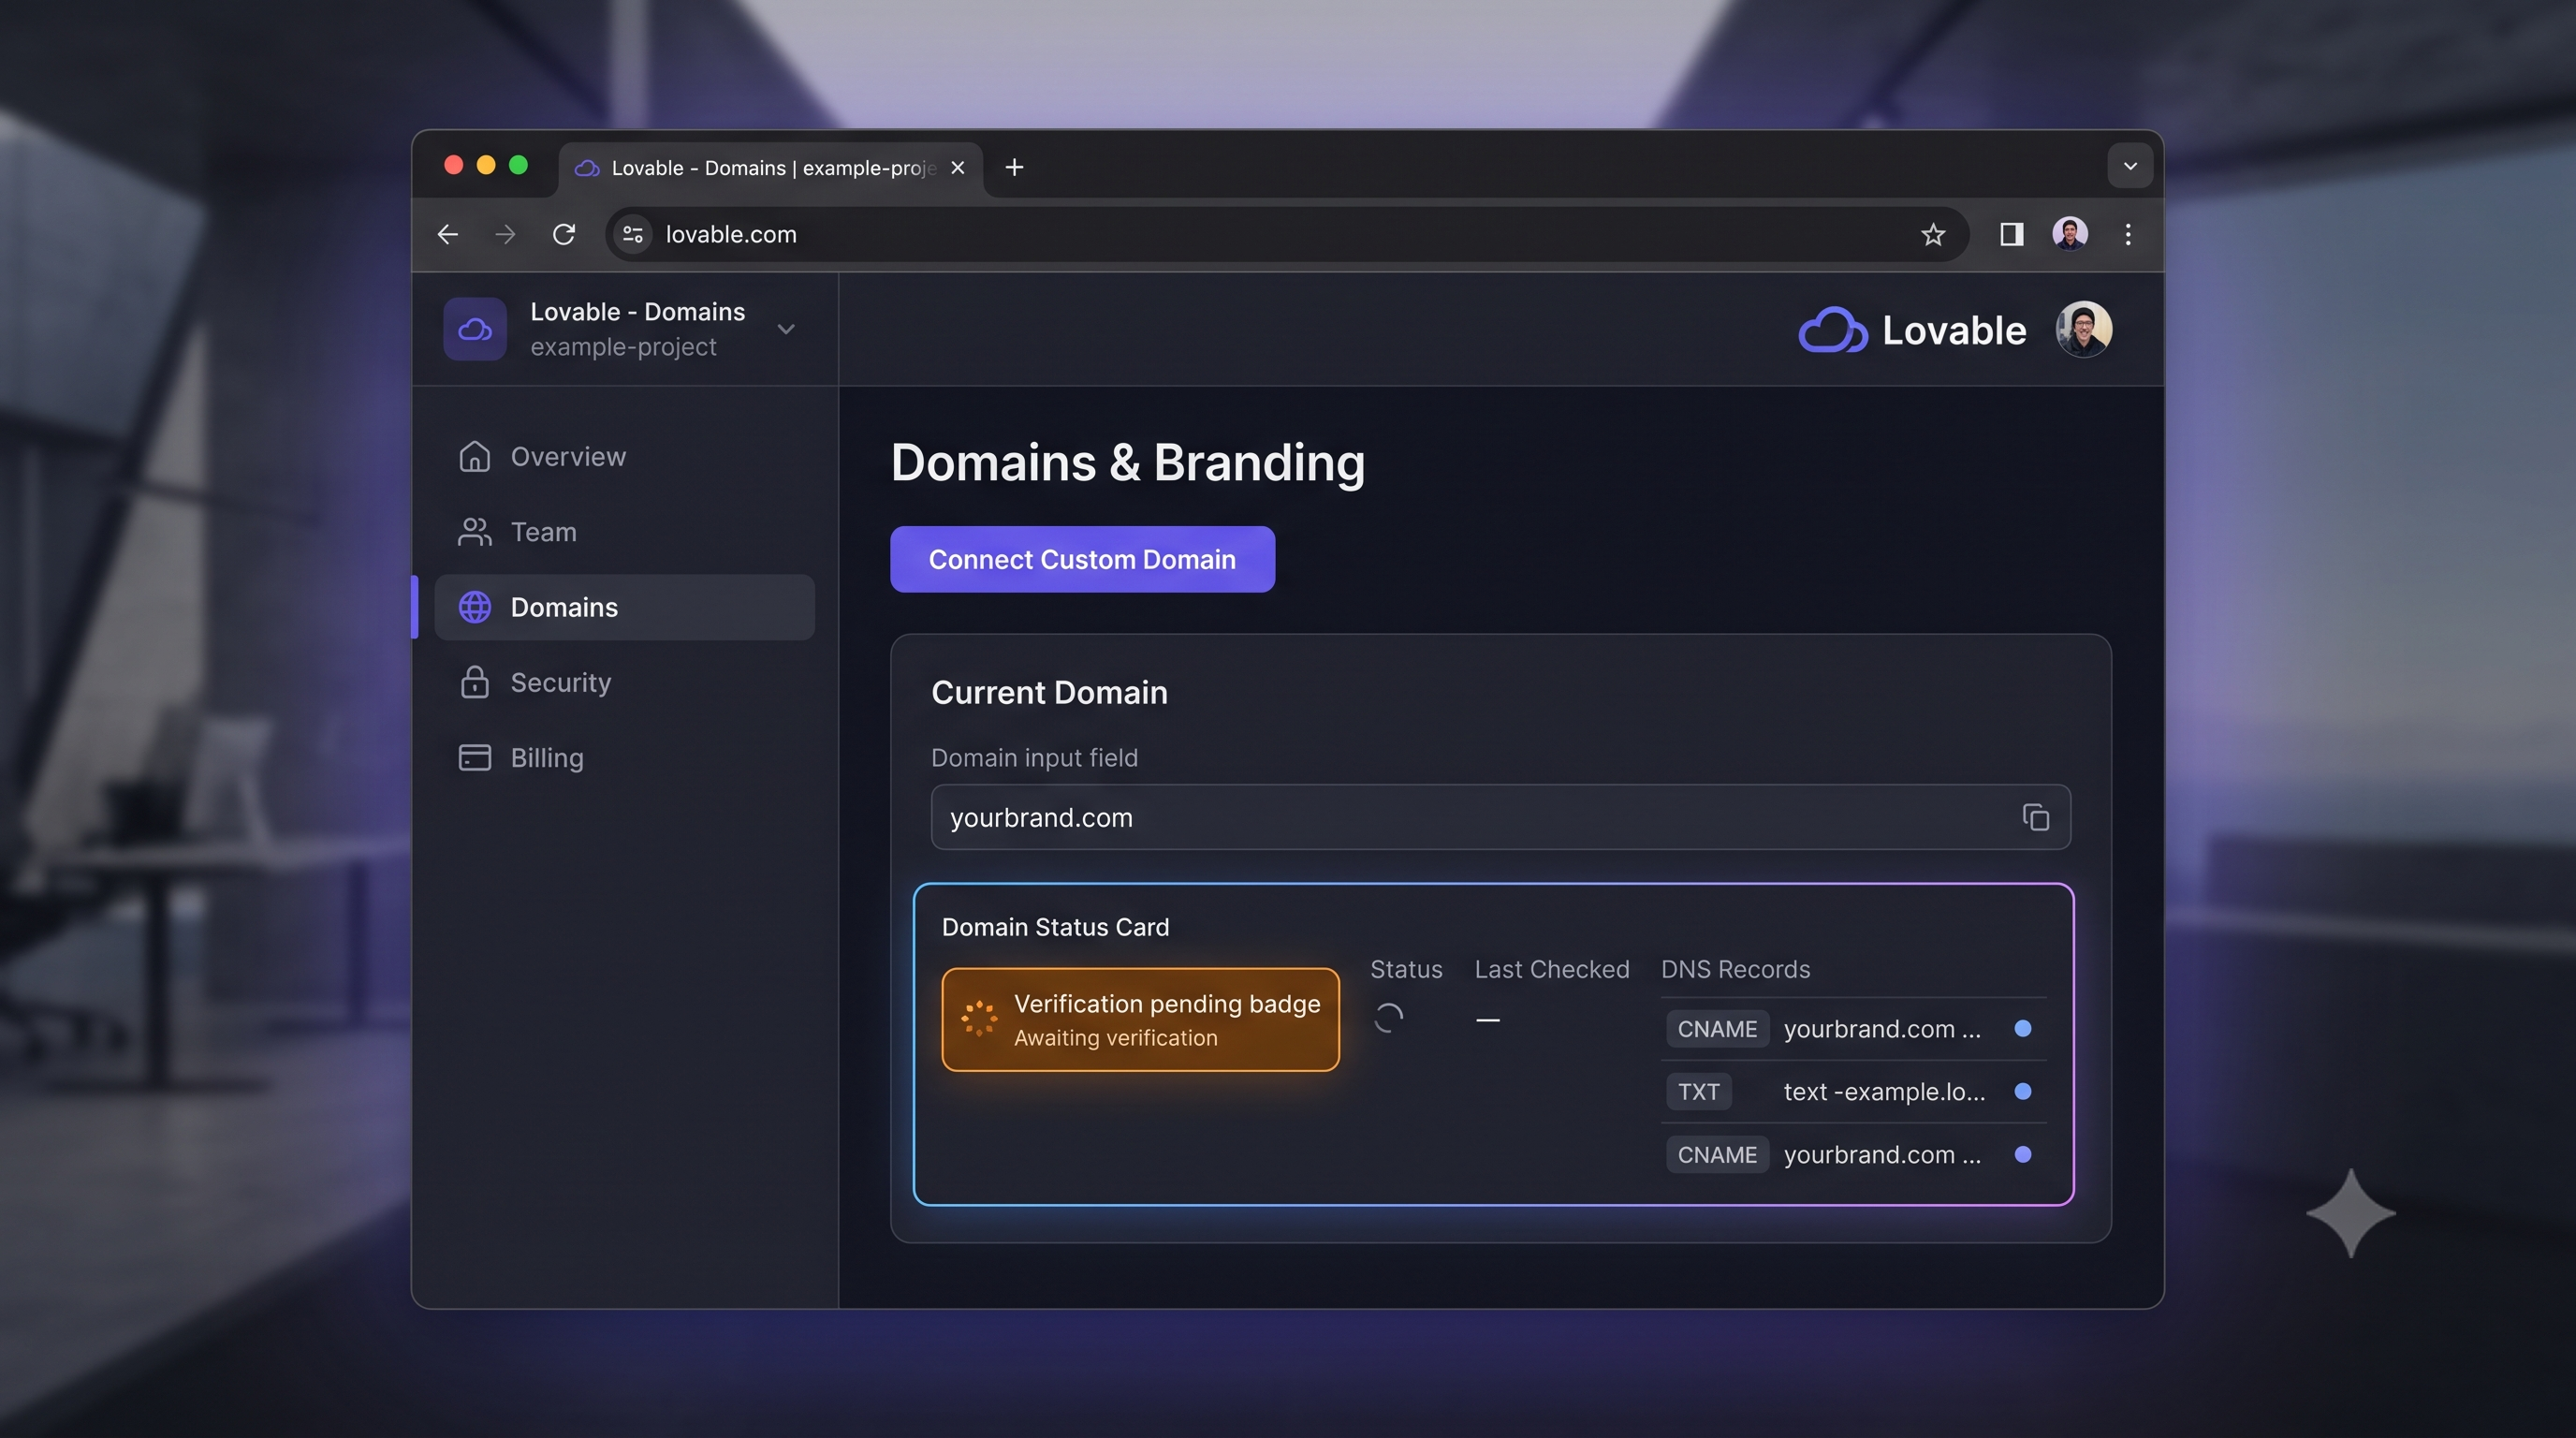
Open Project Settings and find the Domains section. Click Connect domain (or Add custom domain) and enter the exact domain you want to use — for example yourbrand.com or www.yourbrand.com.
Lovable then shows you the exact DNS records to add. Leave this screen open — you'll copy these values into your registrar next. The values Lovable displays are the source of truth; use those rather than any generic ones.
Step 3: Add the DNS Records at Your Registrar
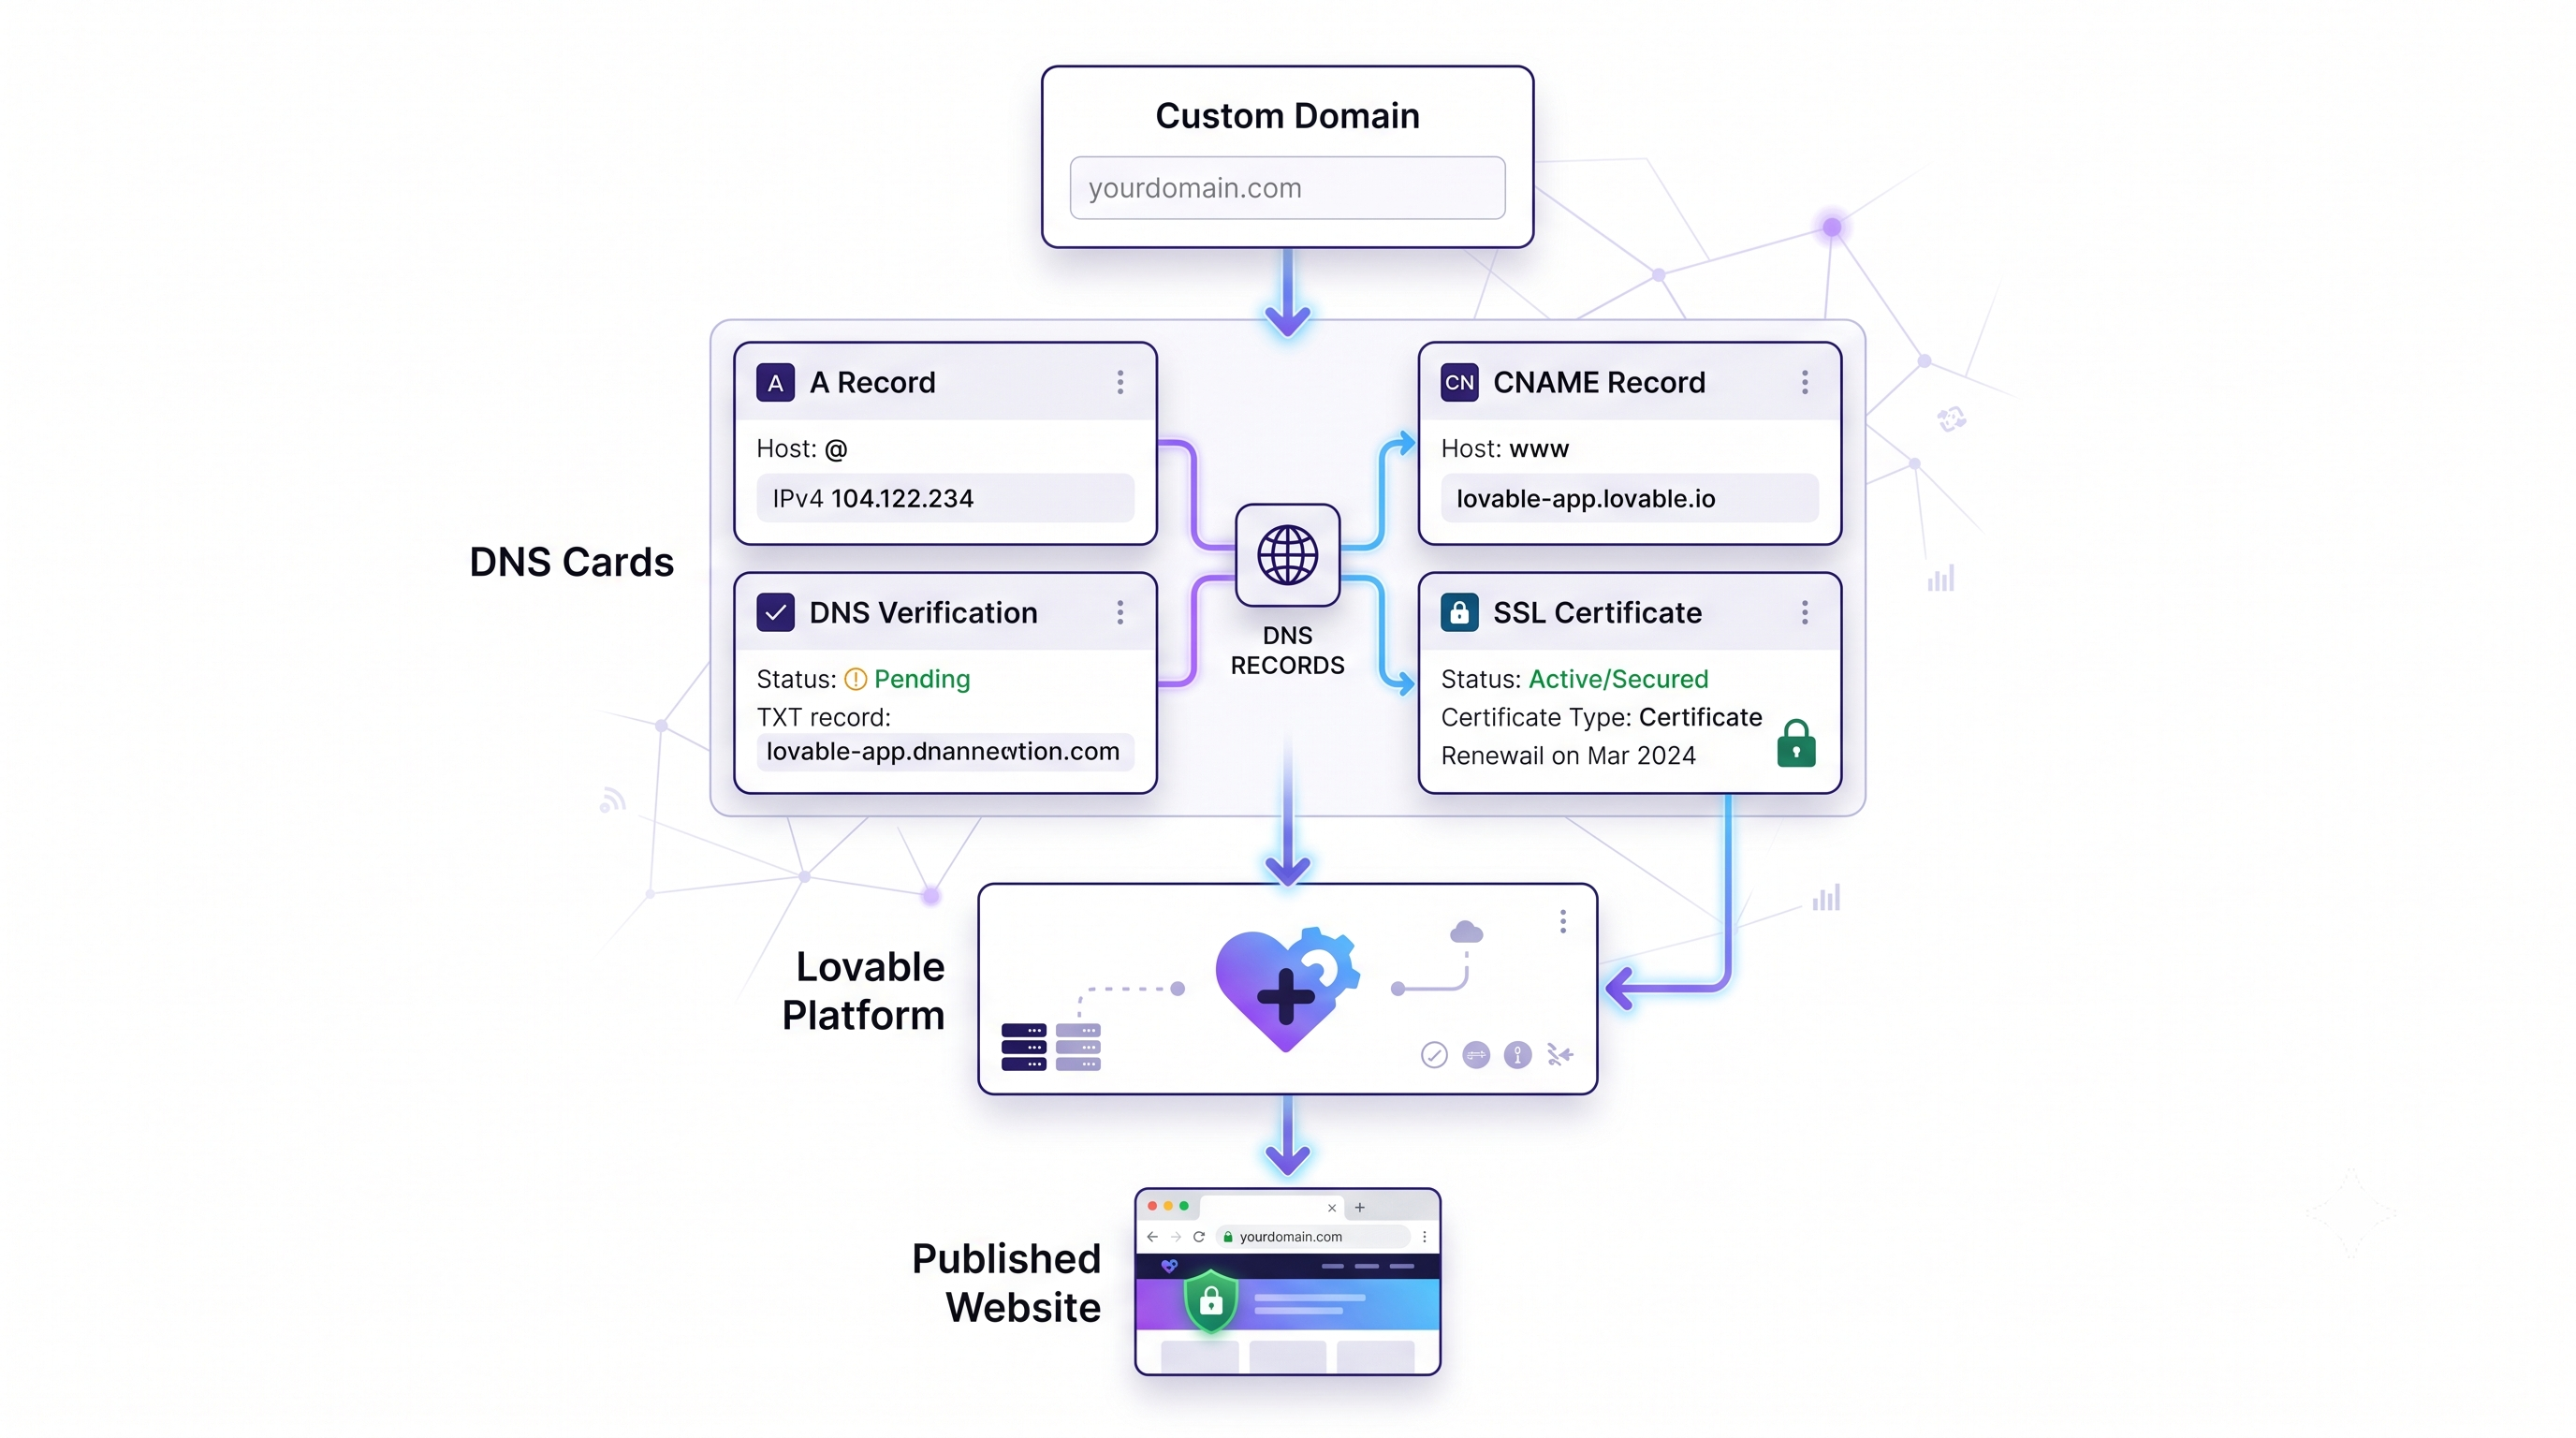
Log into your domain registrar and open its DNS management page. Add the records Lovable gave you. Typically that means one of:
- Root / apex domain (
yourbrand.com) — an A record pointing to the IP address Lovable shows. - Subdomain (
www.yourbrand.com) — a CNAME record pointing to the target Lovable shows.
Enter each record exactly as displayed (host/name, type, and value). If you want both the root and www to work, add both records, then save.
If your registrar is Cloudflare, set the record to DNS only (grey cloud) while connecting so the proxy doesn't block verification. For a full Cloudflare walkthrough, see our Cloudflare DNS setup guide.
Step 4: Verify and Wait for HTTPS
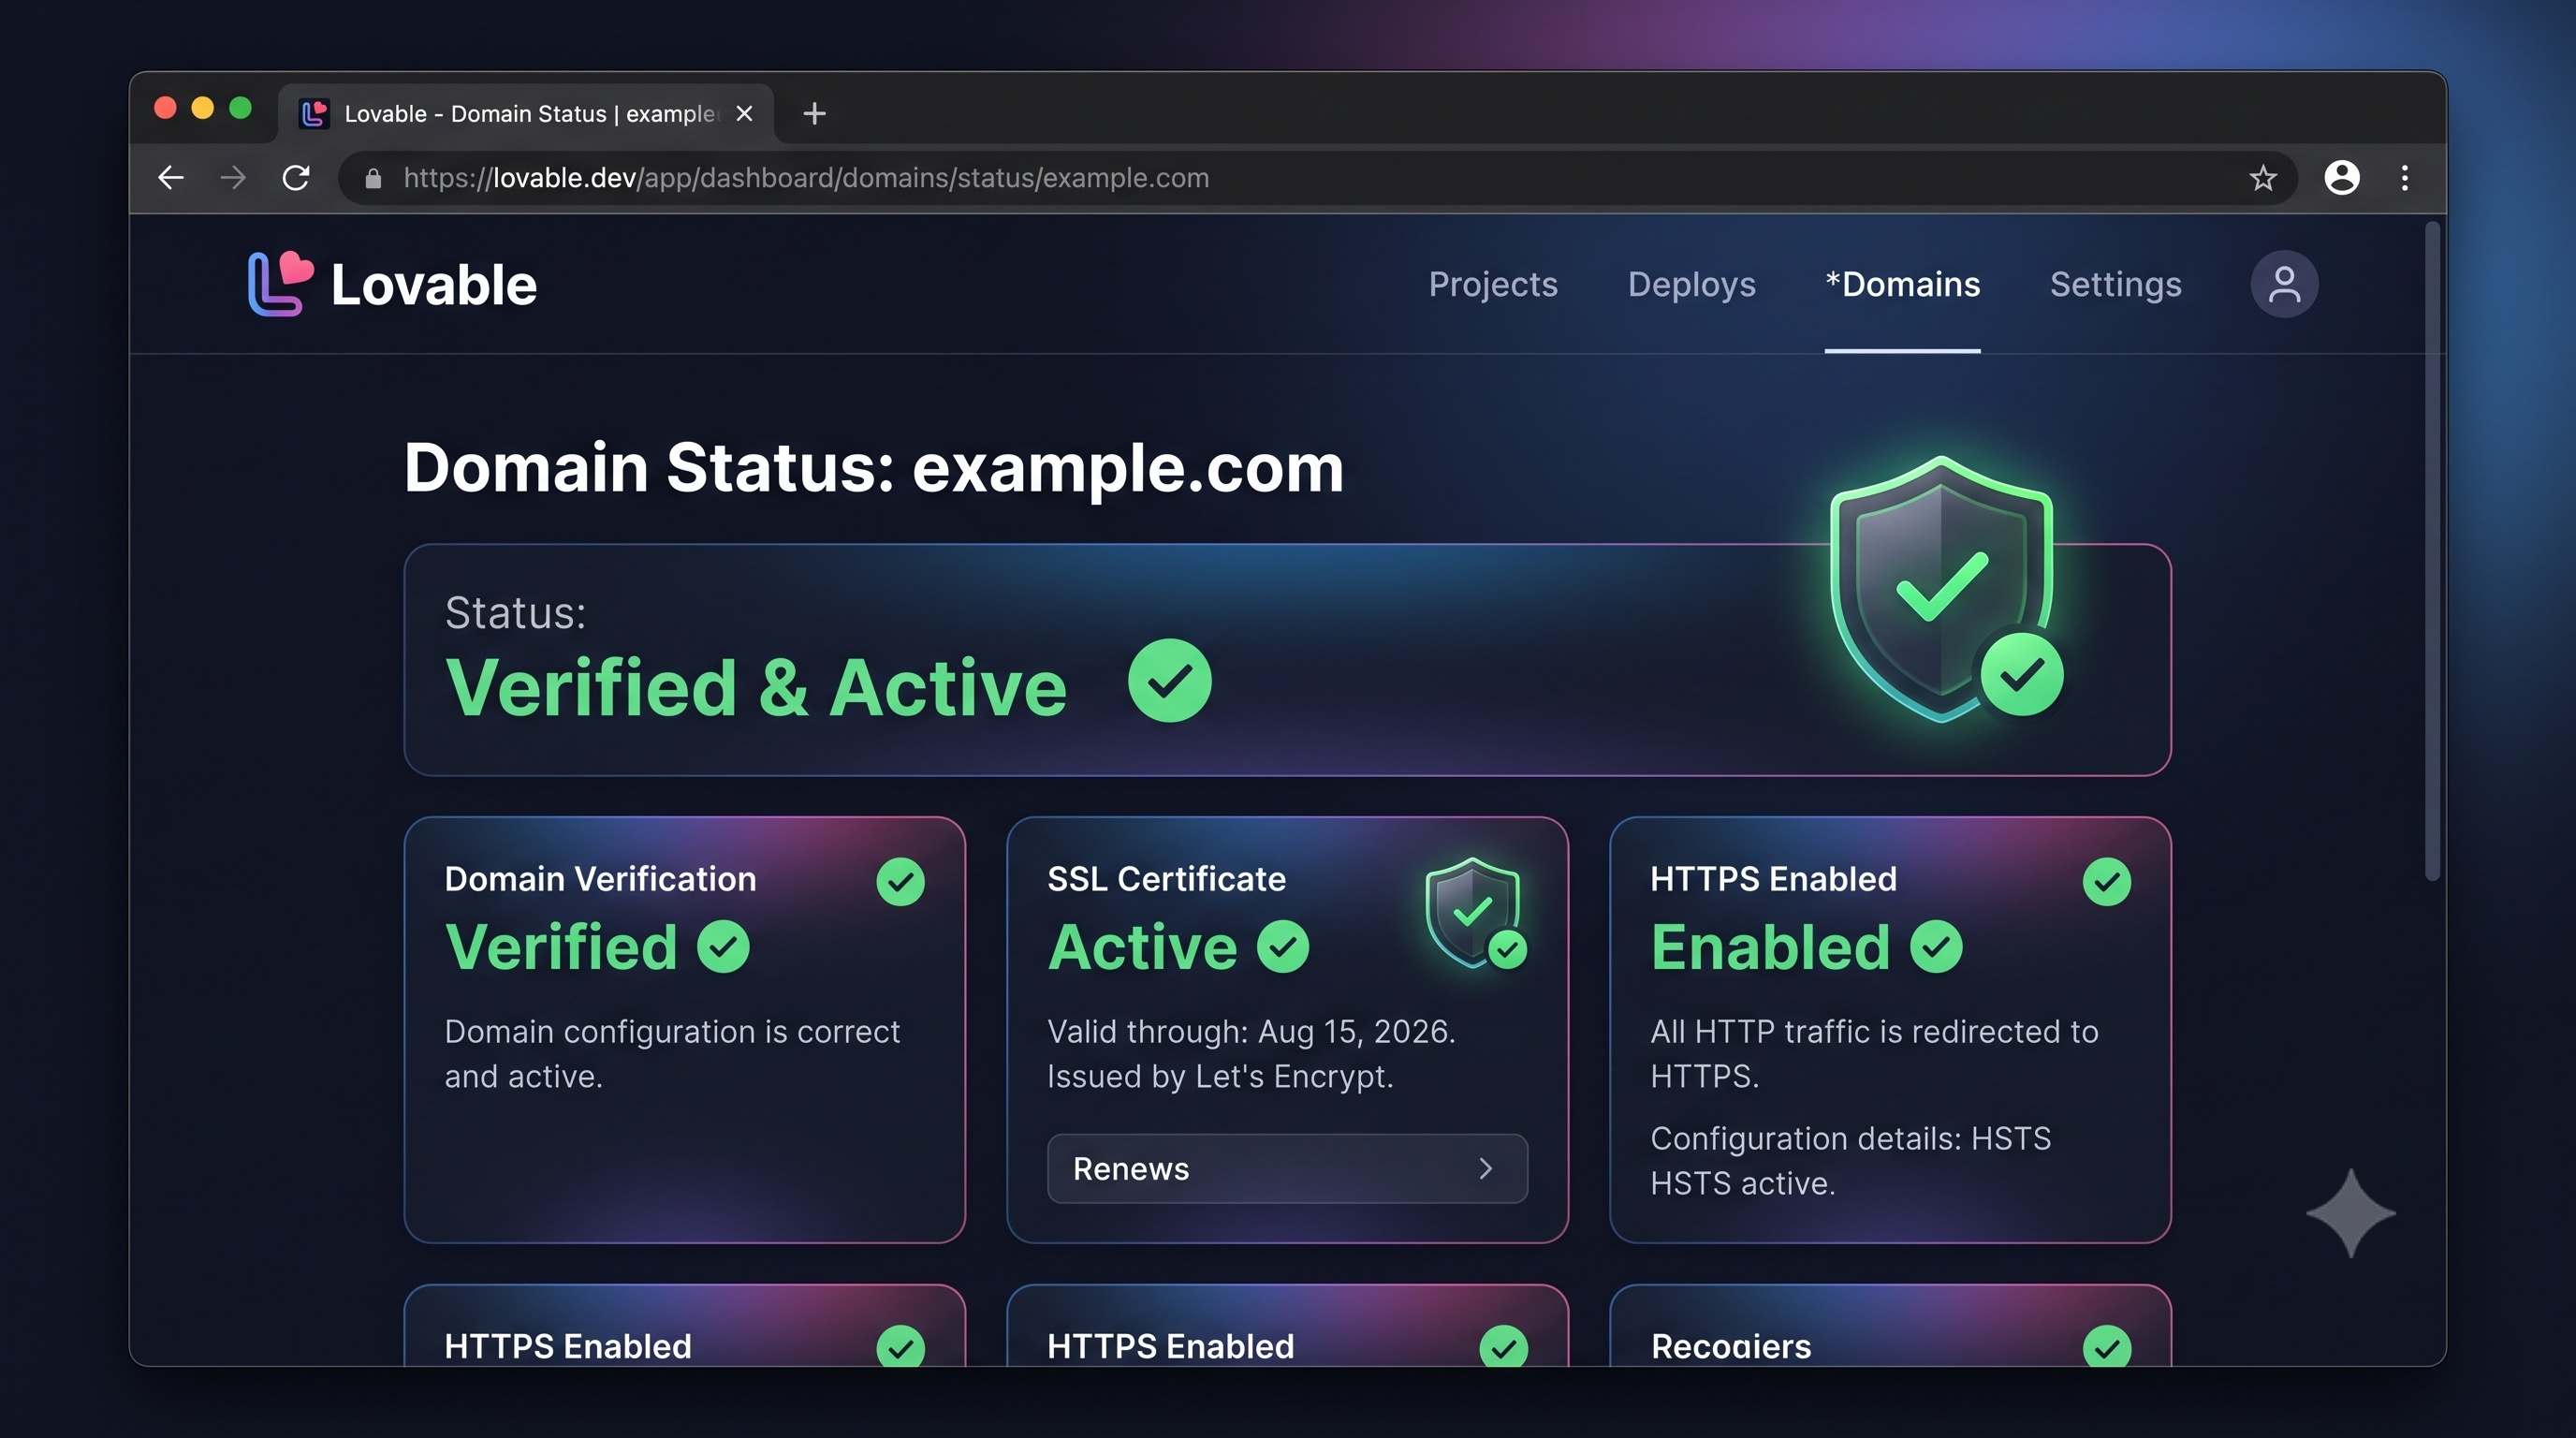
Back in Lovable, the domain status moves to verifying. Once the DNS records are detected, Lovable issues an SSL certificate automatically and your site becomes available over https:// at your custom domain.
DNS changes can take anywhere from a few minutes to 48 hours to propagate, though in practice it's usually under an hour.
Verifying It Works
Open your domain in a browser. You should see your Lovable site load with a padlock (valid HTTPS). To confirm the record has propagated, check it with a tool like whatsmydns.net and make sure it resolves to the value Lovable gave you.
Common Issues and Fixes
Domain stuck on "verifying." The DNS records probably don't match. Re-open the Lovable domains screen and compare each value character-for-character with your registrar. A stray dot or the wrong record type is the usual culprit. Site works onwww but not the root (or vice versa). You only added one of the two records. Add both the apex (A) and www (CNAME), and set your preferred version as the primary.
No HTTPS or certificate error. SSL is issued after DNS verifies, so give it time. On Cloudflare, keep the record DNS-only during setup so the certificate can validate.
Old site still showing. That's browser or DNS caching. Try an incognito window, flush your DNS, and let propagation finish.
Frequently Asked Questions
Do I have to transfer my domain to Lovable?No. You keep your domain at its current registrar and just point the DNS records at Lovable. Nothing about ownership changes.
How long does it take for the domain to work?Usually under an hour, but DNS propagation can officially take up to 48 hours. HTTPS turns on automatically once Lovable verifies the records.
Do I need to buy an SSL certificate?No. Lovable provisions and renews a free SSL certificate for your custom domain automatically once the DNS is verified.
Can I use both the root domain and www?Yes. Add the A record for the root domain and a CNAME for www, then choose which one is primary — the other redirects to it.
Yes, any registrar works. Add the records in GoDaddy's DNS manager. If you also deploy elsewhere, our Vercel + GoDaddy guide covers the same DNS concepts step by step.
Take Your Projects Further With Amex Technology
A custom domain makes your Lovable project feel real — but a professional launch also means analytics, SEO, performance, and a plan for when the app outgrows no-code.
At Amex Technology, we help founders and businesses take Lovable projects to production — from connecting GitHub and custom domains to full rebuilds.
Explore our software development services, see our Portfolio, or get in touch to talk through your project.
Related Services
Need help building this?
Our team specializes in exactly this kind of work. Get a free quote and honest assessment within 24 hours.
Start a Project